Classroom Activities
The following activities are designed to BRING CAVE SCIENCE TO THE classroom.
Class Projects
The following class projects are designed to enhance any of our classroom lesson plans. The Cave Development project covers the formation of a cave, the Cave Life project focuses on the unique life inside some caves, and the Living in Cave Country project is designed to give a better understanding of the responsibilities that come with living in a karst area. All projects are provided free-of-charge and can be modified as needed.
What is Karst? Cave Art
CAVE DEVELOPMENT
The Early Development of Cave Passageways
This classroom activity will give students a hands-on experience creating their own cave. Individuals should come away with an understanding of the relationship between water and soluble rock.
Materials needed:
sugar cubes, modeling clay, transparent glass or plastic dish, water, tooth picks
Divide students into teams of 3 or 4. Their task is to recreate a hill in a karst terrain, according to the directions below:
Constructing the hillside:
1. Have each team stack sugar cubes 6 wide, 6 deep, and 6 high to represent the limestone or dolomite bedrock. One side should be placed against the side of their container.
2. Next green modeling clay should be rolled out flat. This will represent grass on the hills outer surface. Cover the bedrock with the modeling clay. The side that is against the glass container should be left uncovered to view the experiment. Before proceeding, all edges where the clay meets the container should be pressed down and sealed tightly.
3.Additional clay can be used to decorate with surface features such as trees and houses.
4. Using a tooth pick, teams should create a hole by piercing the modeling clay gently, preferably near the exposed viewing side. Also using the tooth pick teams should create a second opening in the same fashion. This one should be located near the base of the "hill".
Now each team can slowly pour water onto their hilltop in small increments. The water will filter down through the hole at the top. The sugar will slowly erode and come out of the "spring" opening at the bottom.
Each time water enters the hilltop a little more bedrock is eroded and will leave behind passageways. As more and more water is added, the bedrock will erode to a point that the surface collapses forming a sinkhole.
Follow up with a discussion about the life of a cave. Starting as small passageways filled with water emptying at a spring and ending at a natural bridge or deep valley.
CAVE LIFE
Living in the Dark
This classroom activity will give students an opportunity to experience a small part of life underground. Individuals should come away with a better understanding of how a life lived inside a cave requires the use of senses other than sight.
Materials needed:
cotton balls, blindfolds, a variety of distinct scents (be aware of any food or odor sensitivities and allergies).
Divide students into two groups- adults and juveniles. Pair an "adult" with a "juvenile" and have each pair create a unique sound or combination of sounds, such as two or three clicks and a hum etc. Next give each "juvenile" a scent. To make it more challenging only use 4 to 6 scents depending upon the class size.
Each "adult" should familiarize themselves with their "juvenile's" sound and scent. Separate the "juveniles" on one side of the room and the "adults" on the other. Next, blindfold the "adults" (to make it more challenging, blindfold the "juveniles" also). As an "adult" approaches the "juvenile" should hold out their scent and make their unique sound. The objective is for an "adult" to locate their "juvenile" with the use of sound and smell alone.
CAVE ART
Recorded History
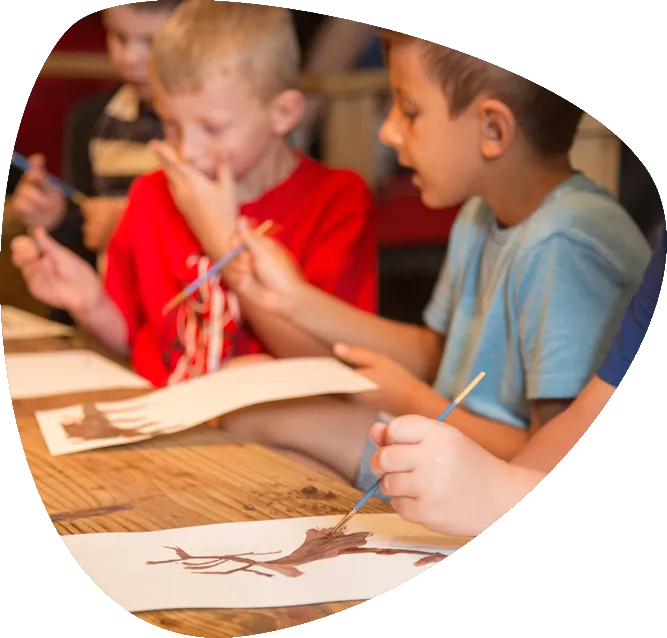
This classroom activity will give students a hands-on experience creating prehistoric paints and prehistoric cave art. Individuals should come away with a better understanding of early humans' ability to create pigments and paints, and then take those materials to produce images on rocky surfaces.
Materials needed:
charcoal crushed to a fine powder, multiple colors of dirt (black, red clay, etc.), lard, crushed berries of different colors, bowls to mix paints, paint brushes, stones with a relatively flat surface, (poured concrete pavers will also work).
Students can be divided into small groups, however this project works best with each individual creating their own prehistoric work of art. It is best to mix up paints ahead of time and then let your students create smaller quantities to appreciate the process.
Creating the Paints
1. To create blacks, reds, and browns, mix one of the materials -charcoal, clay, or dirt - with the lard. It will take a few tries to get the consistency right. If it is too dry, add more lard; if it is too wet, add more material.
2. Reds and purples can be made by crushing raspberries or blackberries and diluting slightly with water. If you prefer, powdered tempera paints can be used to represent different things in the environment; yellow for sulfur, brown for dirt, orange for clay, red and purple for berries, etc.
LIVING IN CAVE COUNTRY
What is Karst?
Karst is an area of land underlain with soluble carbonate rock that is susceptible to erosion with each precipitation event. Kast topography is a landscape that contains many sinkholes, caves, and springs.
This classroom activity will give students a hands-on experience exemplifying the differences between a karst and non-karst watershed. Individuals should come away with a better understanding of how and why karst topography is more vulnerable to pollution.
Plants & Animals Field Trip Opportunities