Create Your Own Crystals and watch mineral formations grow
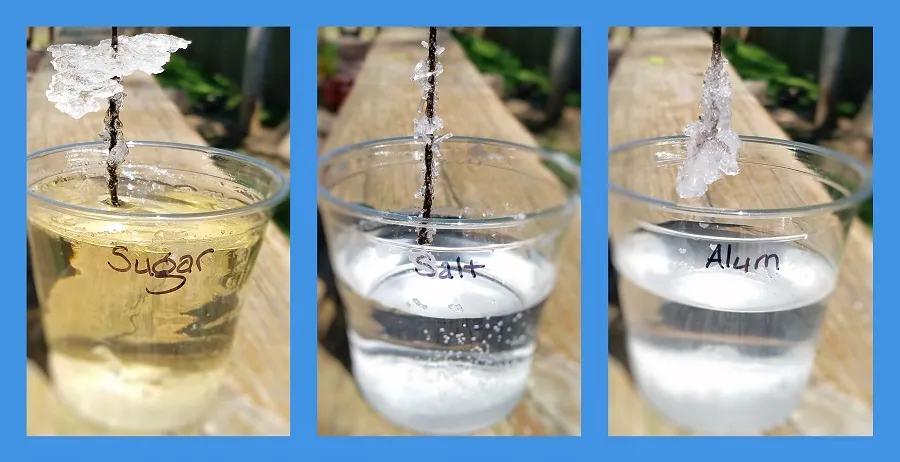
You can easily grow your own crystals using sugar, salt or alum. Many crystals are minerals, and occur naturally. Minerals are the building blocks of rocks, like the limestone of Fantastic Caverns.
Crystal Creation
Crystals have an orderly structure and are solid. They occur from the patternized interlocking of atoms, and can be derived from inorganic (nonliving) or organic (living) compounds. The repeating components of a crystal help identify them. Crystals can grow from mineral-rich water, melted rock, and vapor. Impurities found in the atomic structure of the crystal can affect the color. Temperature and pressure can also influence the atomic structure of crystals.
Many minerals occur naturally as crystals
Minerals are inorganic solids continually being formed underground from heat, pressure and fluid. Minerals are the building blocks of rocks, like the limestone of Fantastic Caverns. Rocks and minerals are fundamental parts of the earth’s crust.
Grow your own crystals
Supplies
- Container for mixing
- 3-4 small jars or cups
- 3 spoons
- String
- Hot Water
- Sugar
- Table Salt
- Alum
- Food coloring (optional)
- Coffee filters (optional)
Instructions
Sugar Crystals
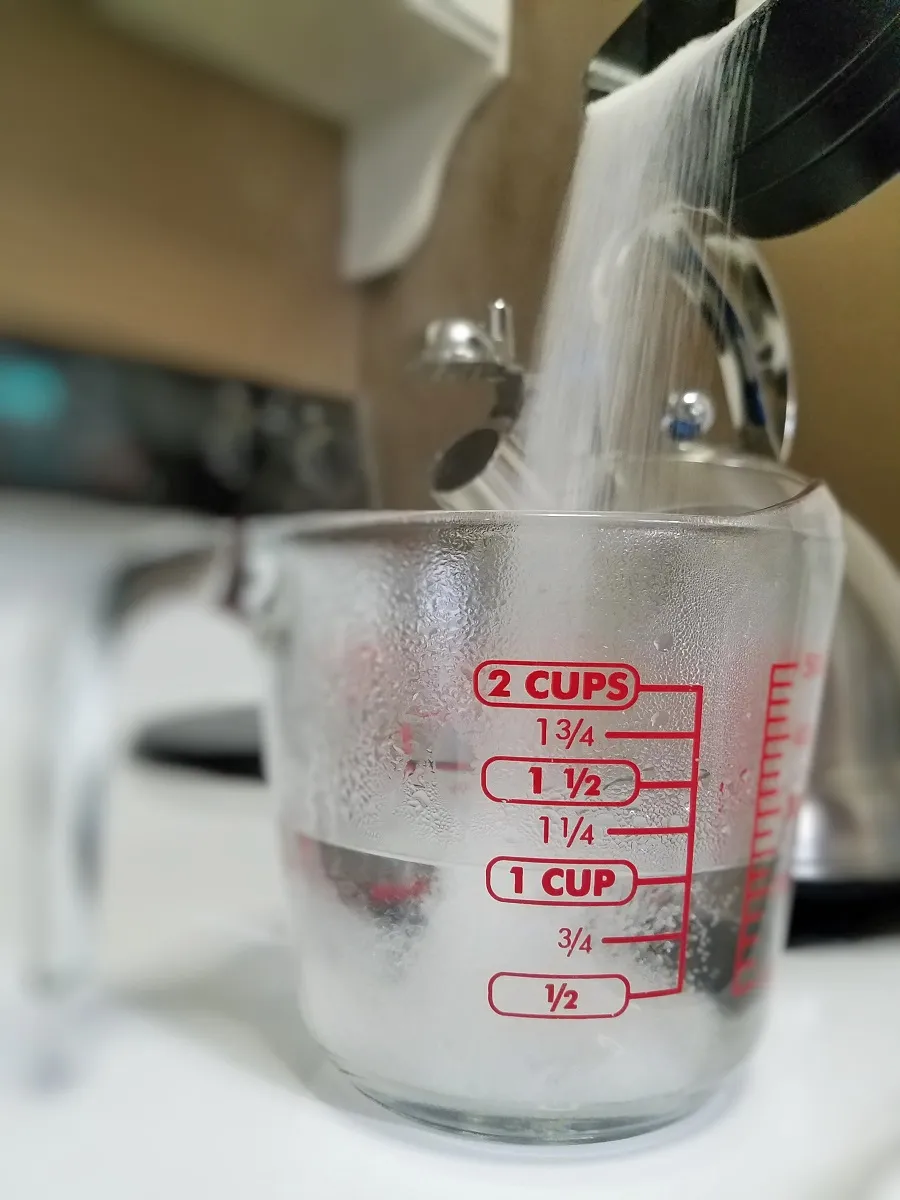
Bring water to a boil. Add sugar. Depending on how much of the solution you would like to make, mix 3 parts sugar with 1 part water. For example, three cups of sugar would be dissolved into one cup of water. It is important to completely dissolve the sugar, and that may require additional heating and quite a bit of stirring.
Once the sugar is dissolved, pour the sugar solution into a glass jar or cup (you can use plastic, but you will need to let the solution cool down to room temperature before transferring the liquid).
Tie a string to a spoon and cut the string to size. Rest the spoon on top of the mouth of the jar or cup and let the string dangle into the sugar solution. Set this cup or jar aside in a safe place, where it won’t be disturbed (you can place a coffee filter over the mouth to allow evaporation, but prevent dust or other materials from getting into the jar or cup).
If you would like to create colored sugar crystals, feel free to add a small amount of food coloring to your sugar solution.
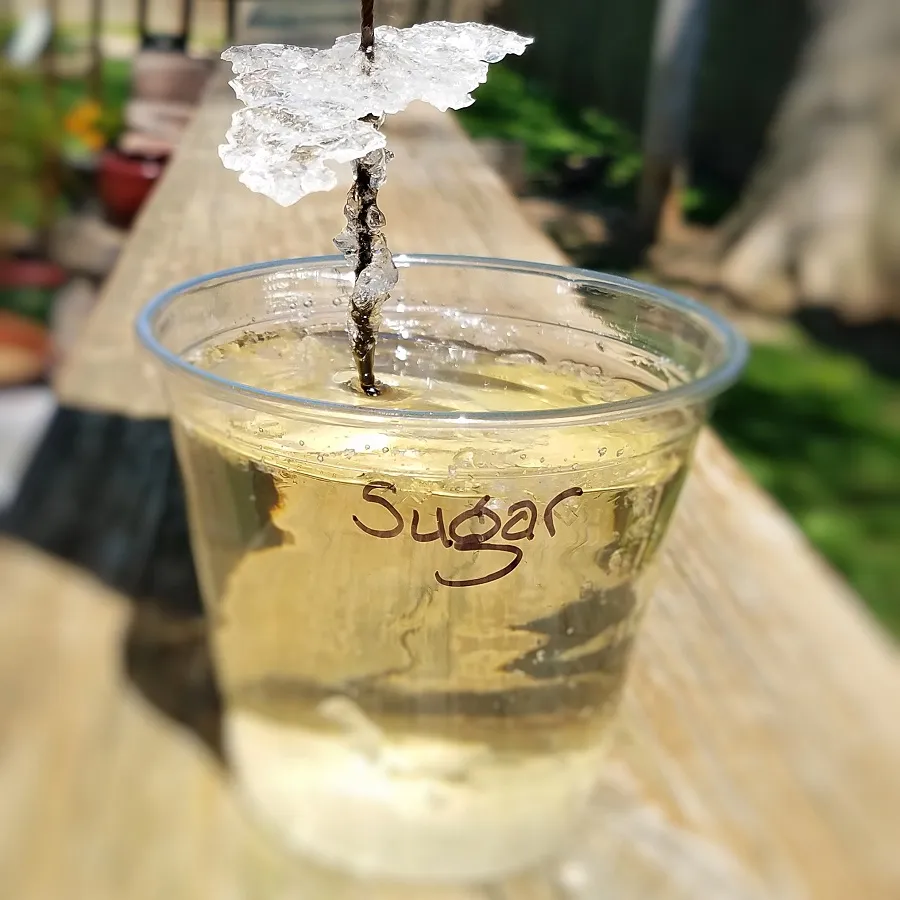
Table Salt Crystals
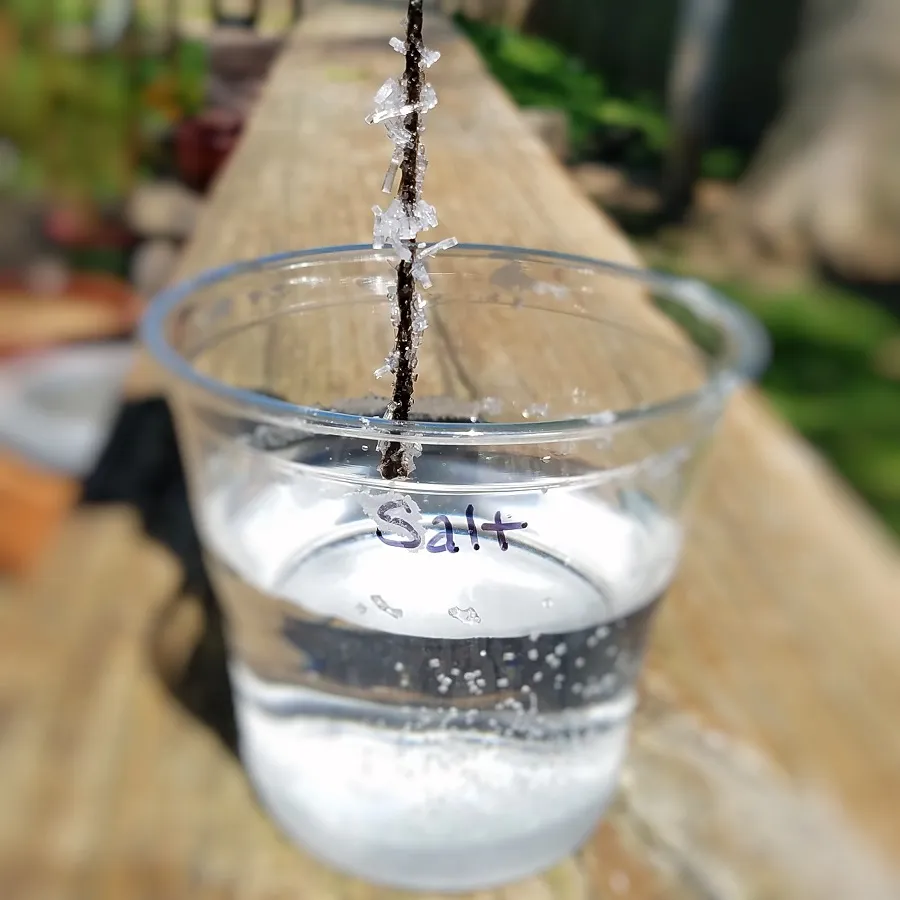
Bring water to a boil. Add table salt. You will want to slowly stir in enough salt that some of it won’t dissolve. You should be able to see granules of salt resting at the bottom of your salt solution. This is called a saturated salt solution.
Pour only the saturated salt solution into a glass jar or cup, being careful not to pour in the excess salt granules (again, you can use plastic, but you will need to let the solution cool down to room temperature before transferring the liquid).
Tie a string to a spoon and cut the string to size. Rest the spoon on top of the mouth of the jar or cup and let the string dangle into the saturated salt solution. Set this cup or jar aside in a safe place, where it won’t be disturbed (again, you can place a coffee filter over the mouth to allow evaporation, but prevent dust or other materials from getting into the jar or cup).
If you would like to create colored salt crystals, feel free to add a small amount of food coloring to your saturated salt solution.
Alum Crystals
Bring water to a boil. Add alum. Alum or Potassium Aluminum Sulfate is commonly used in pickling. Like with the table salt solution, you will want to slowly stir in enough alum that some of it won’t dissolve. You should be able to see alum granules resting at the bottom of your solution. This is another saturated solution.
Pour only the saturated alum solution into a glass jar or cup, being careful not to pour in the excess alum granules (again, you can use plastic, but you will need to let the solution cool down to room temperature before transferring the liquid). If you would like to create colored alum crystals, feel free to add a small amount of food coloring to your saturated alum solution.
After about 8-12 hours, small “seed” crystals will begin to form. Pour your saturated alum solution into another cup or jar, being careful not to pour out your seed crystals. You will use a small crystal as the foundation to grow an even larger alum crystal.
Tie a string to a spoon, cut the string to size and then tie a small seed crystal to the other end of the string. Dangle the seed crystal into the saturated alum solution, resting the spoon on top of the mouth of the new jar or cup. Set this cup or jar aside in a safe place, where it won’t be disturbed (as with the other two solutions, you can place a coffee filter over the mouth to allow evaporation, but prevent dust or other materials from getting into the jar or cup).
Let all of your solutions sit undisturbed, and watch how your crystals start to develop
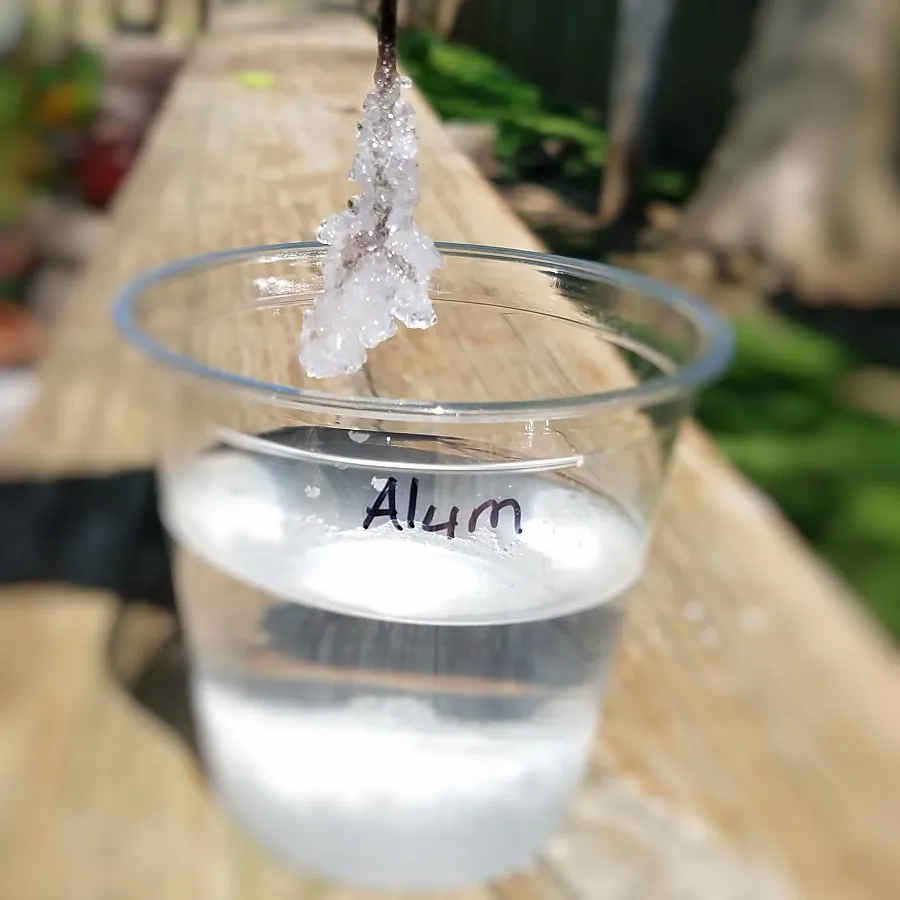
Discovering similarities and differences in the crystals you created
Observe how your crystals develop
- Did one solution seem to form crystals faster than another?
- What are some similarities in the structures of the crystals?
- What are some differences in the structures of the crystals?
The crystals pictured above took 48 hours to grow, but you can let your crystals develop over a shorter or longer period of time. Tap water was used to create our crystals, but you can also experiment with using tap water versus distilled water. Do you think the type of water will affect crystal development? How big can you get your crystals to grow?
About the Author

Director of Marketing
Hubert Heck is the Director of Marketing for Fantastic Caverns